5-Star
Award Winning Service
Award Winning Service

This article will walk you through the process of finishing drywall joints to ensure smooth and seamless results. Everything from the materials you'll need to the techniques you should use will be covered. By the end of this article, you'll have all the information you need to finish drywall joints professionally.
To finish drywall joints, you'll need the following materials and tools:
Understanding the different types of drywall joints is critical for achieving a smooth and flawless finish. There are four primary types of drywall joints:
Butt Joints: These are the joints formed by two drywall sheets with non-tapered ends. They are the most challenging to finish because they require more joint compound and careful feathering.
Tapered Joints: This type of joint occurs when the tapered edges of two drywall sheets meet. They are easier to finish because the taper creates a natural recess for the joint compound and tape.
Inside Corners: An inside corner is formed when two drywall sheets meet at a right angle. Special techniques, such as using a corner trowel, can help achieve a clean finish.
Before you begin applying joint compound, it's crucial to ensure that it is mixed properly. Mixing the compound helps achieve a smooth, lump-free consistency that is easier to work with and improves the final finish.
After you've mixed the joint compound, you can start applying it to the drywall joints.
Scoop up a small amount of joint compound with your 6-inch drywall joint knife and apply it to the joint. Make a consistent and even layer along the entire joint. For tapered joints, the compound should fill the recess without leaving excess material on the surface.
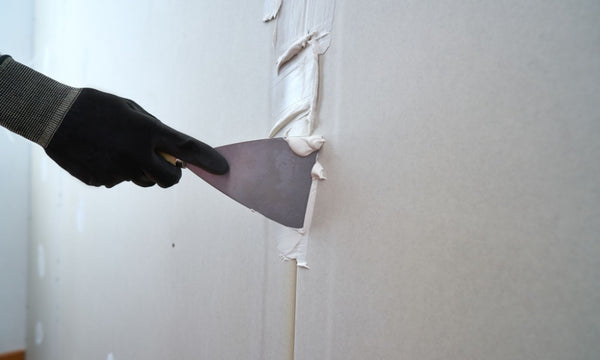
Place the paper or mesh tape over the joint compound, centering it along the joint. Press the tape into the joint compound using your 4-inch or 6-inch drywall joint knife, ensuring it adheres smoothly and without wrinkles. For inside corners, fold the tape along its center crease and press it into the corner.
For outside corners, you can use corner tape products like Levelline or Strait-Flex, which are designed to create perfect corners with ease. These tapes come with pre-formed profiles that conform to the corner, making them a convenient option for achieving precise and durable outside corners. Simply cut the tape to the required length, align it with the corner, and press it into the joint compound, ensuring full contact and a smooth, even fit.
Levelline is an excellent corner tape that simplifies the process of achieving a professional finish for both interior and exterior corners.
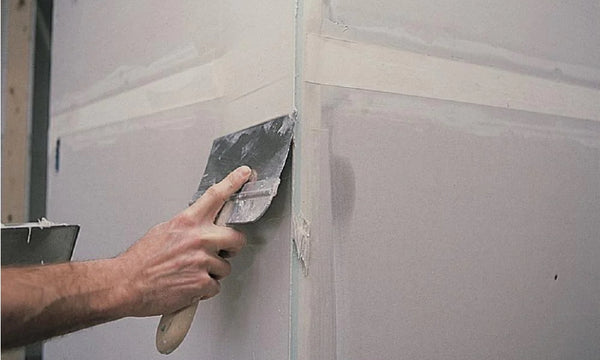
Apply another thin layer of joint compound over the tape with your 4-inch or 6-inch drywall joint knife. This layer should be wide enough to completely cover the tape and blend in with the surrounding drywall surface.
Use a 10-inch or 12-inch drywall taping knife to feather the edges of the joint compound, creating a smooth transition between the compound and the drywall. Apply consistent pressure and maintain a steady angle as you glide the knife along the joint.
Allow the joint compound to dry as directed by the manufacturer. The drying time will vary depending on the temperature and humidity.
Sand the dried joint compound with a sanding pole and a fine-grit sanding sponge or paper to create a smooth and even surface. Over-sanding can damage the tape or create uneven patches, so be careful.
Apply a third layer of joint compound with a small joint knife/ putty knife to butt joints or areas that need extra smoothing. Feather the edges, allow the compound to dry, and sand the area again. Repeat until the desired level of smoothness is obtained.
Avoid the following common drywall finishing mistakes to ensure a professional-quality finish:
Here are a few additional tips to help you achieve a flawless finish when working with drywall joints:
You'll be well on your way to achieving professional-quality results when finishing drywall joints if you follow the steps and tips outlined in this comprehensive guide. Remember that patience and practice are essential for mastering this skill, so don't be discouraged if your first attempts don't turn out perfectly. You'll become an expert in finishing drywall joints with time and dedication, ensuring smooth and seamless surfaces for your home improvement projects. Be sure to check out our website, Timothy's Toolbox, for all your drywall needs.
{"one"=>"Select 2 or 3 items to compare", "other"=>"{{ count }} of 3 items selected"}
Leave a comment