5-Star
Award Winning Service
Award Winning Service

Skim coating, a vital skill in home renovation and interior design, is more than just a technique—it's an art that transforms walls into smooth surfaces. This guide delves deep into the nuances of using drywall compound, texture rollers, taping knives, skimming knives, and drywall sanders for skimming walls. We'll explore everything from the basic steps to advanced tricks that can help overcome common drywall challenges, aiming to empower you with the confidence and knowledge to achieve professional-grade results.
At its core, skim coating is the process of applying a thin, smooth layer of drywall compound over a wall. This process not only improves the appearance of the wall, but it also strengthens it, making it more resistant to wear and tear. It's the preferred method for smoothing out textured walls, concealing flaws, and preparing surfaces for high-quality finishes.
The primary advantage of skim coating is its ability to provide a flawless finish, which is ideal for high-end painting or wallpapering. It's also a good way to hide flaws like dents, holes, or previous wall treatments. However, perfecting it takes time and skill. The process can be time-consuming and may necessitate multiple coats to achieve the desired effect. Furthermore, without proper application and drying conditions, it is prone to cracking or peeling, necessitating future repairs.
Priming is an important step that should not be skipped. A primer seals the existing wall surface, creating a uniform substrate for the skim coat. It improves the adherence of the drywall compound and reduces the absorption rate, ensuring a consistent, durable finish. For best results, use a high-quality primer suitable for your specific wall type.
A successful skim coat project starts with the right tools. Invest in high-quality skimming knives of various sizes, a reliable texture roller to achieve uniform textures, and a flexible trowel for smooth application. Choose a top-tier drywall compound for better workability and finish. Remember, the quality of your tools directly impacts the ease of application and the final outcome.
Choosing the right application method for skim coating is crucial for achieving the desired finish. Here are some common tools and techniques:
Ideal for applying a consistent skim coat over large areas. Rollers help in evenly distributing the compound and are particularly useful for beginners or DIYers. They can also be used to create subtle textures on the wall surface.
A drywall taping knife offers more control for precision work, especially around edges and corners. It's perfect for applying a thin, even layer of compound and smoothing out imperfections. Different sizes are available for various applications.
For larger projects or to achieve specific textures, texture sprayers are a great option. They can quickly and evenly apply the compound over a large area. This method is typically preferred by professionals due to the need for specialized equipment and technique.
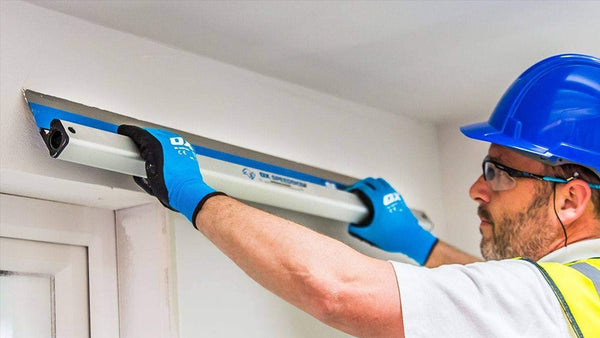
These are specialized tools designed for skim coating. Skimming knives are wider than standard drywall knives, allowing for a smoother application over a broader area. They are essential for achieving a flawless, glass-like finish on your walls.
Each of these methods has distinct advantages and can be chosen based on the project requirements, desired finish, and skill level of the user. Remember that the quality of the tool has a significant impact on the ease of application and the quality of the finish for all of these tools.
Proper wall preparation is vital for a successful skim coat. Start by removing any loose paint, wallpaper, or debris. Fill in holes and cracks with a suitable filler and sand down any rough areas. Ensure the wall is thoroughly cleaned and dust-free before applying primer.
When mixing your drywall compound, aim for a consistency that's easy to spread but not too runny. It should hold on to your knife without dripping but smooth out easily on the wall. If you're new to skim coating, practice mixing and applying the compound to a scrap piece of drywall to get a feel for the right consistency.
The method you choose for applying the skim coat will affect the steps you take. Here's how to proceed using different tools:
Apply the compound using a clean, dry skimming knife. Hold the knife at a slight angle to the wall and use smooth, even strokes. Spread a thin layer of compound across the wall, filling in any small imperfections. Avoid overworking the compound to prevent uneven drying or textures.
Use a light touch with your knife to avoid scraping off excess drywall compound, which could create unevenness on your wall. Also, be cautious not to gouge the wall with the knife's corners.
Allow the first coat to dry completely, which can take anywhere from a few hours to overnight, depending on humidity and temperature. Once dry, lightly sand the surface with fine-grit sandpaper to remove any ridges or bumps. This step is crucial for achieving a glass-smooth finish. Remember to clean the dust off the wall before applying subsequent coats.
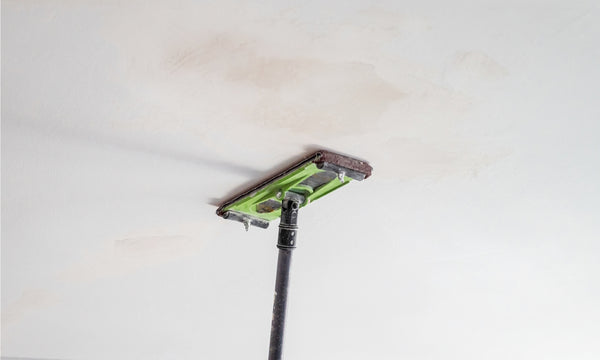
Using a drywall pole sander, especially on ceilings and other hard to reach places, is a popular choice among contractors when sanding skim coats.
Achieving a professional-grade finish requires practice and precision. Pay special attention to corners and edges, where it's easy to overapply the compound. Use a smaller knife for these areas to maintain control. If you're working with textured rollers, experiment with different techniques to create unique finishes that can add character to your walls.
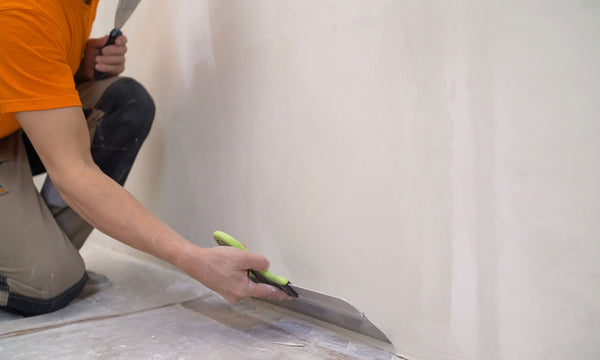
Properly addressing drywall corners can make or break the aesthetic of your skim coating project. Use a corner trowel to achieve crisp, clean lines. Apply the compound in a smooth, continuous motion, ensuring that both sides of the corner are even and free from excess buildup.
Wall cracks, particularly in corners, are common issues in both new and old buildings. These cracks can be due to a range of factors, including structural settling, moisture changes, or temperature fluctuations. While minor hairline cracks are typically not a cause for concern, more significant or dynamic cracks might indicate underlying structural issues and should be evaluated by a professional.
Opt for skim coating when renovating old walls, especially in older homes where walls have accumulated layers of paint or wallpaper. It's also ideal for new construction where drywall joints are visible or the surface is uneven. Skim coating before a major painting project ensures a premium finish, elevating the overall look of the room.
The duration for skim coating a room varies based on the room's size and the number of coats required. On average, a single room can take about a day to coat and another day for drying and finishing touches. Plan your project accordingly to accommodate these timeframes.
Maintain your freshly skim-coated walls by regularly dusting and gently cleaning them. Avoid harsh chemicals or abrasive tools that can damage the smooth surface. For minor repairs, a touch-up with the same drywall compound can seamlessly fix the issue.
Skim coating is an essential skill for achieving beautifully smooth walls. At Timothy's Toolbox, we understand the importance of quality tools in this process. Our selection of drywall tools caters to both professionals and DIYers, ensuring that every skim coat project is a success. Remember, with the right approach, technique, and tools, even the most challenging drywall problems can be turned into stunning, smooth surfaces.
For optimal results, mix the drywall compound to a creamy, pudding-like consistency. Adjust the thickness by adding water in small increments. Stir thoroughly to eliminate lumps, ensuring a smooth application. When using a spray texture, oftentimes a thinner consistency is needed to get the proper results.
Achieving a smooth finish requires applying thin, even layers and sanding between coats. Use a texture roller for consistent texture and then a skimming blade, taping knife, or a wide trowel for a seamless application. Patience and a steady hand are key.
Yes, skim coating is an excellent way to change wall textures. You can smooth out rough textures or create subtle new ones with different trowel techniques. It's a versatile method for customizing your wall's appearance.
If cracks appear after drying, it may indicate the application was too thick or dried too quickly. To repair, sand the area lightly, apply a thinner layer of compound, and ensure proper drying conditions.
{"one"=>"Select 2 or 3 items to compare", "other"=>"{{ count }} of 3 items selected"}
Comments
Leave a comment