5-Star
Award Winning Service
Award Winning Service

Before we tell you all about the tools you’ll need, let’s begin with the setup. There are premixed muds out there, but if you prefer to do it yourself, you’ll need some compound, a bucket, and water. Professionals stick with box mud because it’s cheaper and easier to use than bucket mud.
Grab an empty bucket with a decent height. Chances are the bucket has seen some wear and tear; just make sure there are no cracks in the bottom or along the sides. Clean and remove any leftover compound in the bucket to prepare for a fresh batch.
Next, lift the boxed mud and place it at the edge of the bucket. Delicately balance it on the edge and tilt the box to dump the compound inside. Depending on the size of your job, you either want to dump all or a portion of the contents into the bucket.
Say you have a compound that’s too thin, and you need to thicken it up. Take the box of mud and only add half to the compound. Place the box at the edge of the bucket and shake the contents into the compound. Use your fingers to scoop out the desired amount.
Take the mixing mud paddle and turn the drill to a medium setting. Let it run until the compound thickens and you see no air bubbles. If you happen to make the compound too thick, keep a soaked rag nearby and squeeze a little water into the compound at a time.
Keep the sponge or rag close for the entire project. You’ll likely need to add water to the compound, as it will dry up as time passes.
Now that you know how to prepare your drywall mixture let’s move on to the three tools you’ll need to mix drywall mud correctly.
Take the mud in your hands to test how thick and dry it is. You can get a better feel for its texture and check for air bubbles in the compound if you pull it apart. You’ll want to remove all the air bubbles as they can make your drywall mud thick and difficult to handle.
Mixing it manually at first will be extremely difficult and tire you out before the job even starts. Get a nice powerful mixing paddle to start. Have a separate bucket of water nearby and add a hefty amount to the compound if the mud is extra thick.
The drywall mud mixing paddle attaches to a drill, but don’t turn it on just yet. If the compound is extremely thick, you’ll need to manually chop it up before mixing. Lift and slam the paddle into the mud to help the water seep through and break up the compound.
Once you’ve spent a couple of minutes manually breaking up the mud, place the bucket between your legs to hold it steady. Do not place your foot on top of the bucket. Such action is a safety risk.
Turn the drill on the lowest setting and give it a couple of quick spins. Don’t let it run consistently, as the mud will spill out and seep onto the floor. Keep the paddle at the bottom of the bucket to start, then slowly move to the mud’s surface. Turn up the speed if you need better results.
There are some smaller-scale projects where you won’t need to mix the mud with the mixing paddle. For those projects, use the Wal-board square head hand mixer. This tool has an all-steel head and epoxy-bonded construction with a wooden handle.
Manufacturers designed the handle to be comfortable with a metal ferrule. The standard size of the head is 5 x 5 ½ inches. You can use this tool for large-scale projects, but the process will be time-consuming. Some contractors use this tool in combination with the mixing paddle.
Use the same motion you did with the mixing paddle but stay consistent until you reach the desired texture. It might start to look smooth, but the smoothness at the top could mean there is too much water. You’ll need to reach down and pull the compound at the bottom of the bucket upward. Make sure there is a limited number of bubbles in the mix.
The drywall mud pan is smaller than the bucket, but it’s still a good tool to have in your box. At Timothy’s Toolbox, we’re all about preparing you for the job—including supplying you with the proper finishing tools.
A drywall mud pan is essential for construction projects as you can rely on it to carry the mud instead of carrying it yourself. All professionals look for stainless steel mud pans to avoid rust and keep your product long-lasting. A shorter pan is easier to use because drywallers carry their mud with them most of the day. A lighter weight is always preferable.
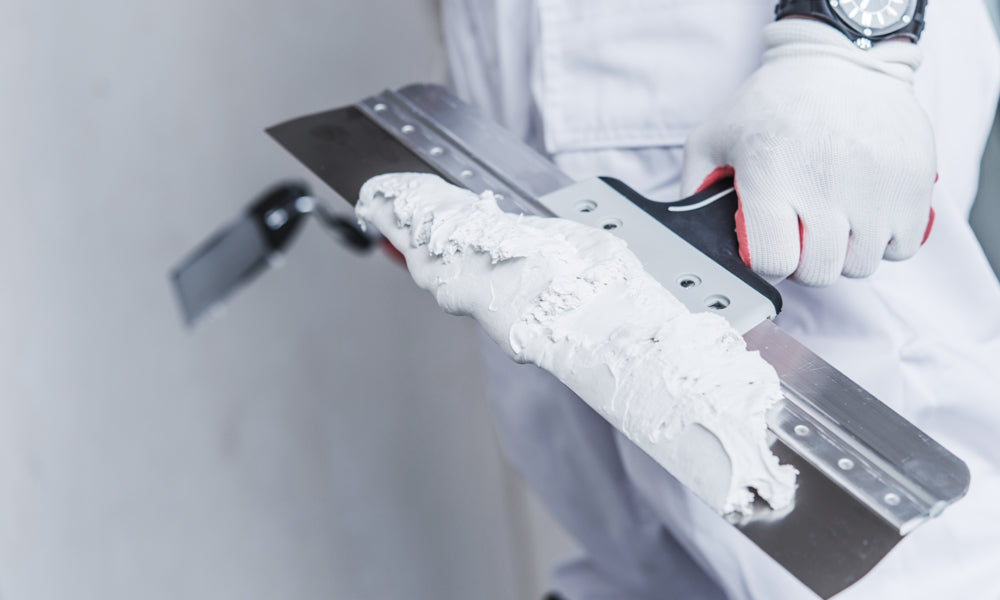
You’ll need a set of taping knives along with the mud pan. Make sure the mud is in the right texture before adding it to the pan. Use a twenty-inch knife and a twenty-two-inch pan to avoid trowel texture. You didn’t mix that mud perfectly for the application to look lumpy and uneven.
There’s no such thing as perfection, but you want to come as close to it as possible when it comes to your compound. The mud is the foundation, and if that starts shaky, then the rest of the job won’t go over smoothly. Shop with Timothy’s Toolbox today and purchase the tools you need to mix drywall mud correctly.

{"one"=>"Select 2 or 3 items to compare", "other"=>"{{ count }} of 3 items selected"}
Leave a comment