5-Star
Award Winning Service
Award Winning Service

Drywall installation is tough, time-consuming work that requires precision and expertise. One critical aspect of this job is dealing with drywall seams. These often-hidden joints are the keys to achieving a seamless finish in any interior space. We’ve compiled some useful tips for hiding drywall seams using taping knives to help professional drywallers achieve flawless results.
Drywall seams, also known as joints, are the spaces between two adjoining panels of drywall. These seams occur when you use multiple panels to cover large areas, such as walls and ceilings. The seams can be vertical or horizontal, depending on the layout of the space.
Drywall seams are inevitable results of applying drywall to a large area. However, they are unsightly and inconvenient, so you need to conceal them using joint compound and tape to create a smooth, finished surface.
Hiding drywall seams is crucial for creating a professional and polished look while working. Unsealed or poorly finished seams can mar the aesthetic of a space, drawing attention to imperfections and disrupting the flow of the design. Here's why hiding these seams is a top priority for professional drywallers:
Flawless drywall seams create a visually appealing backdrop for interior spaces. When seams are well-hidden, the surface appears smooth, uniform, and free from any distracting lines or gaps.
The quality of a skilled drywaller's seam work indicates their craftsmanship. Concealing seams with precision demonstrates a high level of expertise and attention to detail, which reflects positively on your reputation.
Unhidden seams can result in shadows and uneven lighting across walls and ceilings. By concealing seams, you ensure light bounces evenly across all surfaces.
You might be surprised to learn that properly sealed seams can contribute to the durability of an installation. They prevent cracks, gaps, and peeling over time, ensuring the longevity of the interior surfaces with quality seams.
By concealing seams, you can create an even canvas for paint and other finishes.
Before we jump into techniques, let’s talk about tools. If you want to conceal drywall seams, you’ll need the right tools. A taping knife is essential, but it’s not the only thing you need. Pack your toolbox with these essentials before heading to your next job:
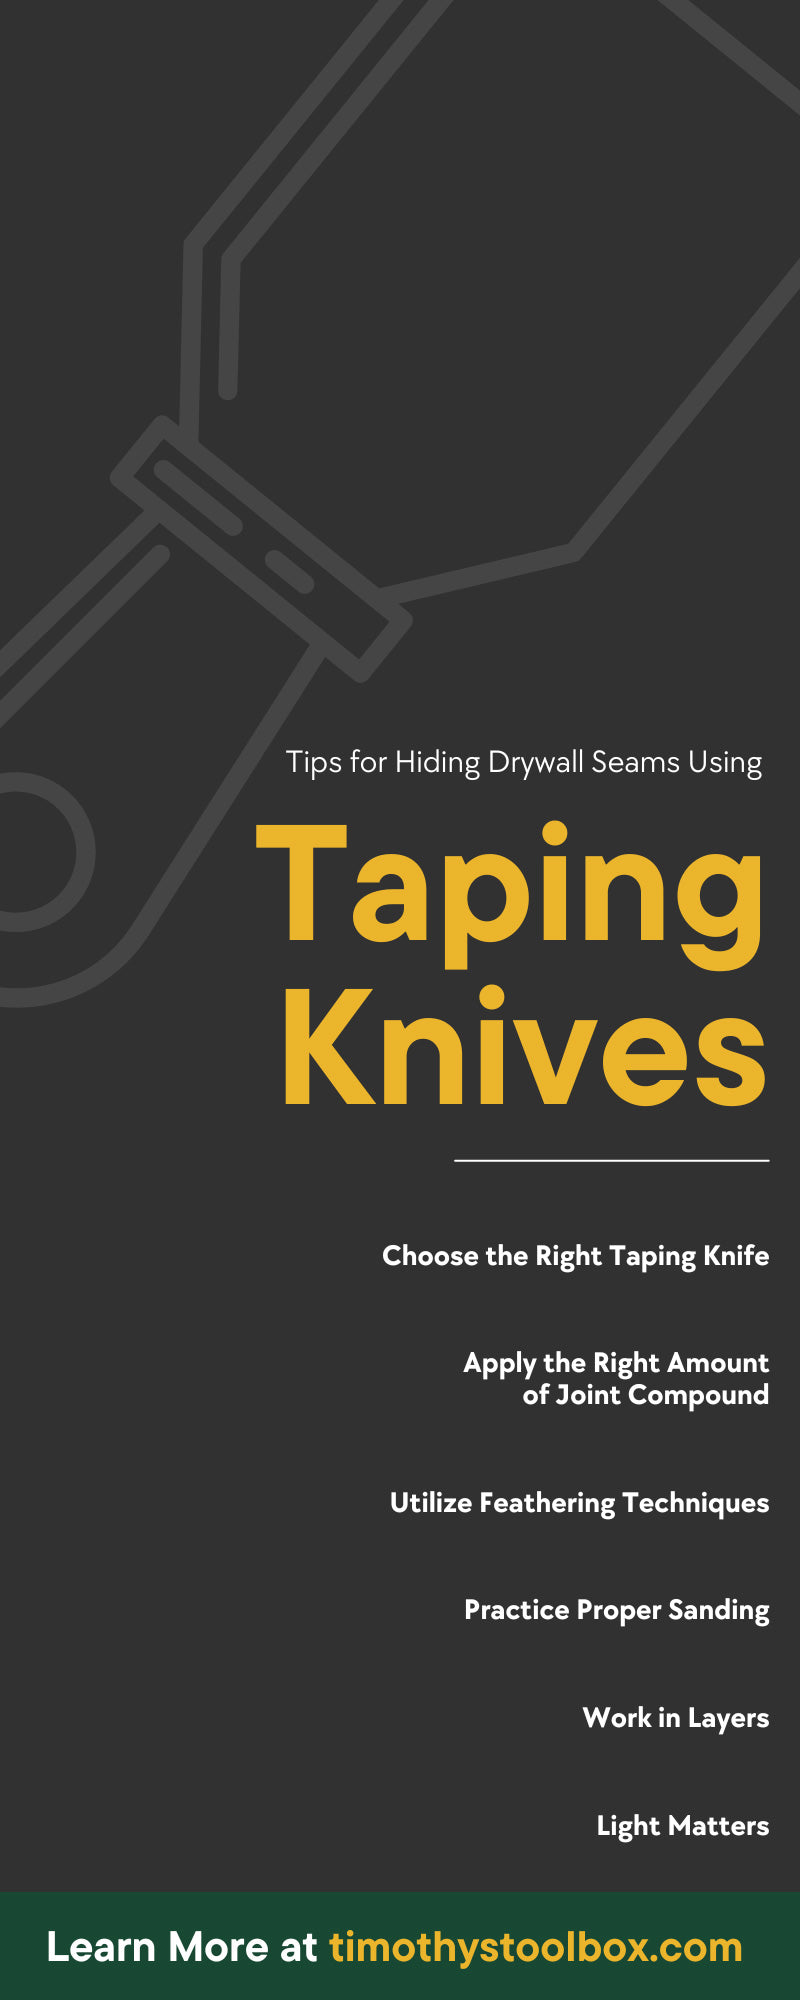
The most important tool you’ll need is a taping knife. These knives are available in various sizes and designed for spreading joint compound smoothly over drywall seams.
Joint compound, also known as mud, covers seams and imperfections in the drywall. We recommend using an all-purpose joint compound, as it’s versatile for taping, topping, and texturing.
Once the joint compound dries, you should sand it to achieve a seamless finish. Use fine-grit sandpaper and a sanding block to smooth out the surface.
A utility knife comes in handy for cutting drywall tape and trimming excess joint compound.
You'll need drywall tape to reinforce the seams. Paper tape is a popular option, as it adheres well to joint compound.
Keep a damp sponge nearby so you can clean excess joint compound while working. You’ll also want to keep buckets of water nearby so you can rinse your tools. This will prevent joint compound from drying on them.
A trowel is useful for applying joint compound to large areas of the wall and achieving a smooth, even surface.
These tools protect the flooring and other surfaces from accidental spatters of joint compound or paint.
The right tools and techniques can help you successfully conceal drywall seams. These tips for hiding drywall seams using taping knives will help you achieve a smooth and seamless finish, ensuring a professional-looking result for your drywall project.
The foundation of a successful drywall finishing job lies in selecting the appropriate taping knife. We recommend choosing a high-quality, flexible taping knife with a comfortable grip. A 6-inch or 8-inch taping knife is ideal for most seams. Wider knives are better for large joints.
If you're new to the industry or want to replace your old knives with new ones, Timothy's Toolbox has your back. We're a trusted provider of professional drywall tools, including taping knives. Our sheetrock knife sets include multiple knife sizes and additional accessories such as mud pans, mixers, and saws. Get everything you need for your next seam-concealing endeavor at great prices!
Achieving a seamless finish begins with applying the right amount of joint compound. Too much compound can lead to excessive sanding, while too little won't hide the seam effectively. Apply consistent pressure while applying joint compound, and feather the edges to ensure a smooth transition.
You can use feathering techniques to blend the seam with the wall. Begin with a wide taping knife to spread the compound, then switch to a narrow knife for feathering. This technique creates a gradual transition and minimizes the visibility of the seam.
Sanding is where the magic happens. Once the joint compound dries, use fine-grit sandpaper to smooth the surface. Sand in a circular motion, applying even pressure. Don't forget to inspect the seam's appearance from different angles to make sure it’s uniform.
For particularly challenging seams, consider applying joint compound in multiple layers. Allow each layer to dry completely before applying the next. This approach allows you to accumulate the compound gradually, making it easier to achieve a flawless finish.
Pay attention to your lighting setup when assessing your work. Harsh lighting can reveal imperfections that might go unnoticed under normal conditions. Use a soft, diffused light to inspect your work for any subtle flaws that need corrections.
There you have it—our top tips for mastering the art of hiding drywall seams with taping knives! Achieving seamless finishes takes practice and attention to detail. With these techniques, you'll be well-equipped to tackle even the most challenging seams.
{"one"=>"Select 2 or 3 items to compare", "other"=>"{{ count }} of 3 items selected"}
Leave a comment