Award Winning Service
Award Winning Service

Skim coating a wall might seem daunting for beginners, but it’s an invaluable skill for any DIY enthusiast looking to achieve smooth, flawless walls. This process involves applying a thin layer of plaster or compound to the walls to create a smooth surface. It’s an essential technique for repairing or refreshing your walls, whether dealing with uneven surfaces or minor wall damage or simply aiming for a fresh look.
Let’s look at some tricks for beginners on how to skim-coat a wall and achieve professional-looking results.
Prepare your wall properly before you start skim coating. This preparation includes removing wallpaper, sanding rough patches, and cleaning the surface. Make sure to repair any significant damage before proceeding with skim coating. Also, cover or remove any furniture or items in the room to protect them from dust and debris.
Having the right tools can make a world of difference when it comes to skim coating. Here are some essential tools you’ll need for this project:
Mixing the compound is a crucial step in skim coating. You should always follow the instructions on the product packaging, but generally, you’ll need to mix it with water until it reaches a smooth, creamy consistency. Make sure to use cold water, as it will slow the compound’s drying time and give you more working time.
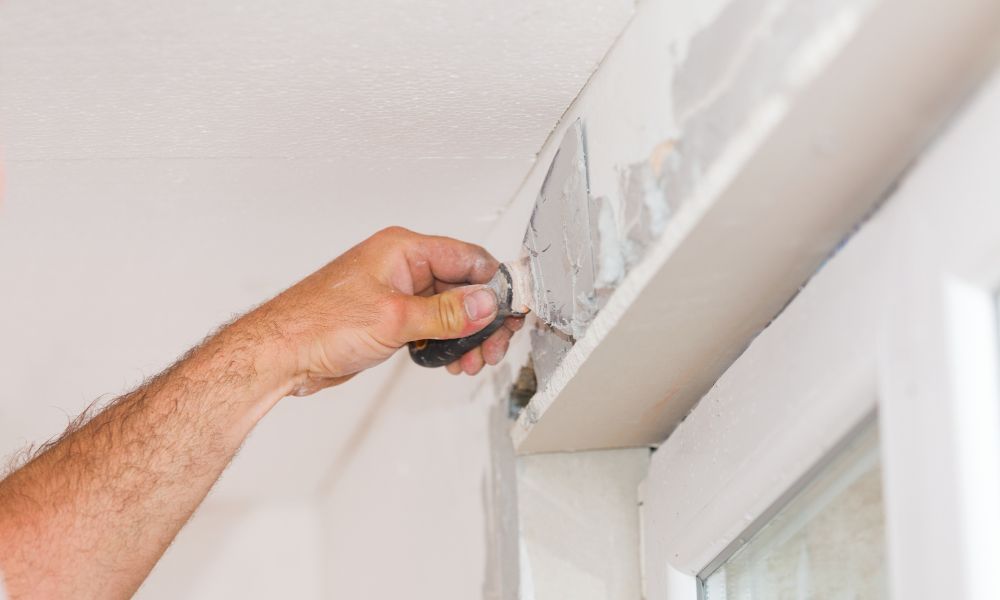
Now, it’s time to start skim coating. Use your taping knife or drywall knife to apply a thin compound layer onto the wall in a smooth, even motion. Don’t worry about making it perfectly smooth on the first pass, as you’ll add additional coats.
After the first coat has dried, use sandpaper to smooth out imperfections or ridges. Then, apply a second (or even third) coat of compound, letting each layer dry completely before sanding and adding another. This process will build up the thickness of the skim coat and achieve a smooth, flawless finish.
Once you’ve applied multiple coats and achieved the desired result, lightly sand the surface one last time with sandpaper. This step will create an even smoother finish and prepare the wall for priming. After sanding, wipe down the walls with a damp cloth to remove dust or debris. Then, prime the walls with a high-quality primer before painting.
Skim coating a wall is a valuable skill that can transform the look and feel of any room by providing smooth, pristine walls. Although it may appear challenging initially, following these steps and tips can make the process manageable, even for beginners. Remember, practice makes perfect, and each attempt at skim coating will improve your technique and results. With patience, the right tools, and a bit of effort, you can achieve walls that look professionally done, enhancing the beauty and value of your home.
If you need a stainless steel drywall knife for your skim coating project, Timothy’s Toolbox can help. Check out our selection of high-quality tools to make your DIY projects easier and more enjoyable.
{"one"=>"Select 2 or 3 items to compare", "other"=>"{{ count }} of 3 items selected"}
Leave a comment