Award Winning Service
Award Winning Service

Before diving into the painting process, you need to understand the importance of good preparation, particularly regarding drywall. Skilled professionals agree that preparing drywall for painting is a step you can’t overlook. This careful preparation can be the difference between a flawless, long-lasting finish and a paint job that quickly starts to flake and peel.
Let’s look at how to prepare your drywall for painting correctly so that you can achieve the best possible results.
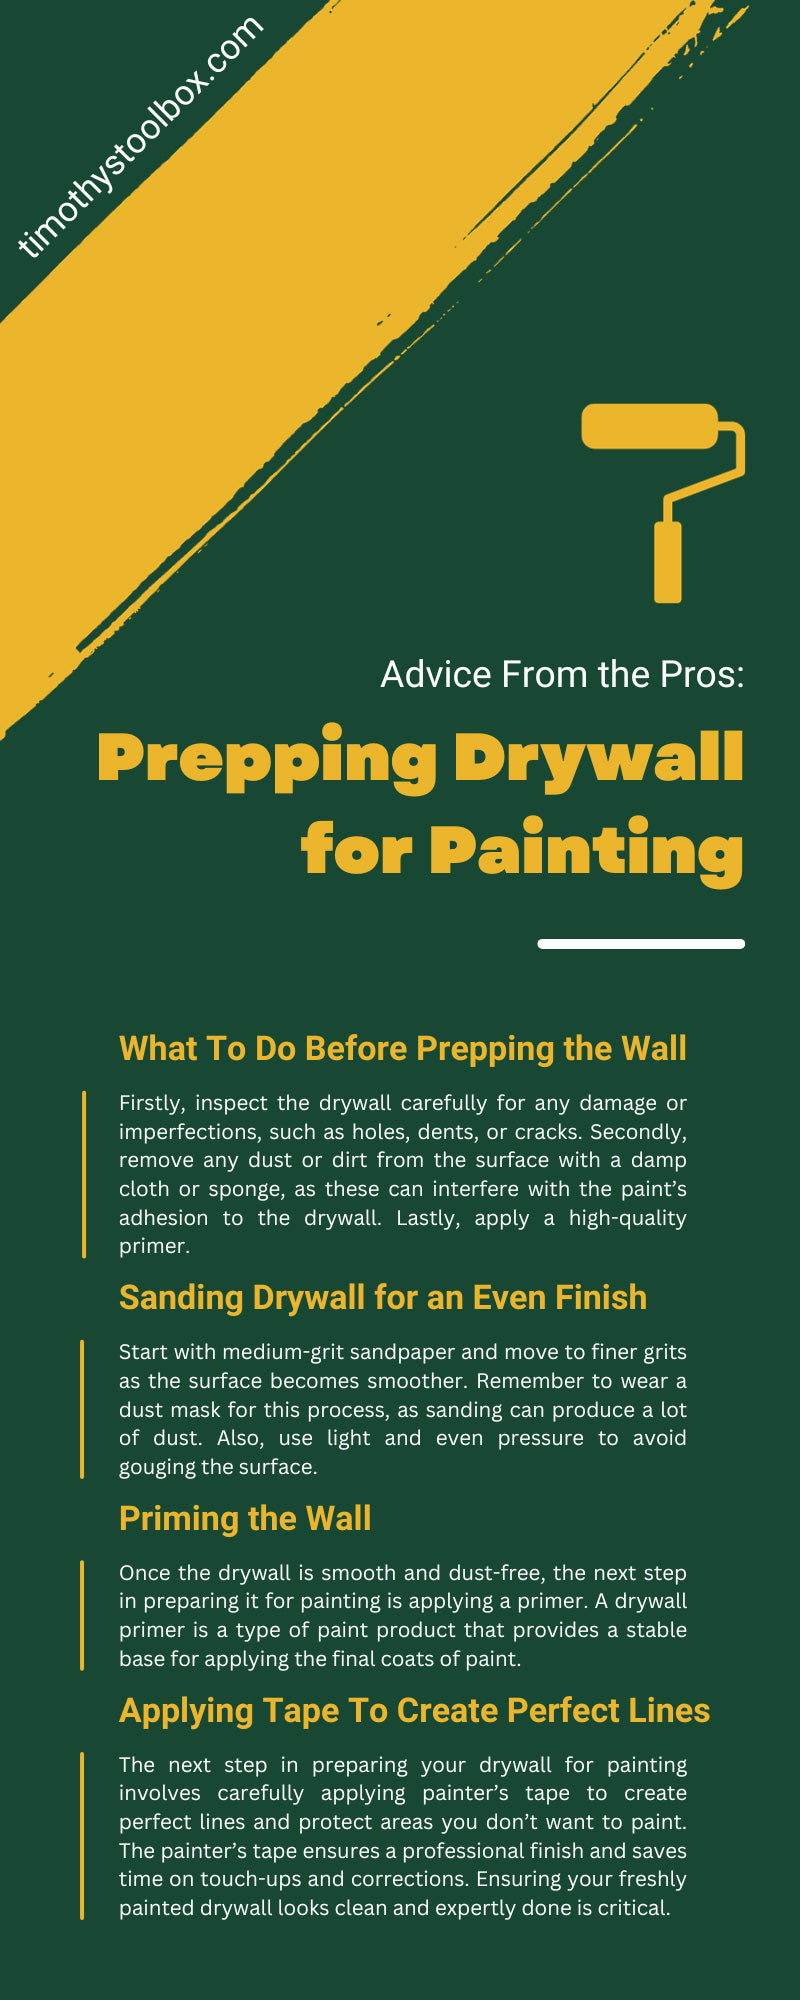
Before prepping the wall for painting, you need to take several steps to ready the drywall. Firstly, inspect the drywall carefully for any damage or imperfections, such as holes, dents, or cracks. If you find any, use a drywall compound or putty to fill them in and allow them to dry.
Secondly, remove any dust or dirt from the surface with a damp cloth or sponge, as these can interfere with the paint’s adhesion to the drywall. Lastly, apply a high-quality primer. This primer will create a uniform surface and enhance the vibrancy and durability of the paint.
Also, remember to protect your surroundings from potential paint splatters by laying drop cloths or plastic sheets on the floor and over any furniture in the room.
Sanding the surface of drywall is essential in achieving an even, smooth finish. You should do this after applying the drywall compound and before the primer. The purpose of sanding is to smooth out any imperfections, such as bumps or ridges, caused by the compound and create a level surface for the paint to adhere to.
Start with medium-grit sandpaper and move to finer grits as the surface becomes smoother. Remember to wear a dust mask for this process, as sanding can produce a lot of dust. Also, use light and even pressure to avoid gouging the surface.
Finally, wipe down the wall with a damp cloth to remove any remaining dust before proceeding to the next step. Proper sanding is critical to achieving a professional-looking finish when painting drywall.
Once the drywall is smooth and dust-free, the next step in preparing it for painting is applying a primer. A drywall primer is a type of paint product that provides a stable base for applying the final coats of paint. Applying a primer has several benefits:
Apply the primer using a roller or brush, ensuring you cover the entire surface of the drywall evenly. Allow the primer to dry completely before applying the paint.
The next step in preparing your drywall for painting involves carefully applying painter’s tape to create perfect lines and protect areas you don’t want to paint. These are a few steps for doing this accurately:
The painter’s tape ensures a professional finish and saves time on touch-ups and corrections. Ensuring your freshly painted drywall looks clean and expertly done is critical.
Cutting in is the process of using a paintbrush to paint areas that are too tight for rollers to reach. This technique requires a steady hand and patience, but it ensures a professional finish. To cut in the edges, dip an angled brush into the paint and wipe the excess on the side of the paint can.
Hold the brush like a pencil and apply paint to the area adjacent to the trim, molding, or ceiling, ensuring a wet edge. This hold allows for a seamless blend between the brushed and rolled paint. For a straight line, draw the brush along the edge while applying slight pressure. Then, gently drag the brush to smooth out the paint, removing excess. Remember, using two thin coats over one heavy coat for a smoother finish is better.
After you’ve completed the cutting-in process, you can roll on your first coat of paint. Begin by saturating your roller in the paint, then roll it back and forth on the tray to distribute the paint on the roller cover evenly.
Start from the top of the wall and work down, using a W or M pattern to spread the paint. This pattern allows you to distribute most of the paint in the middle of the wall and then spread it out to the sides for an even and smooth finish. Avoid pressing too hard, as it can cause drips or ridges. Let the first coat dry completely before moving on to the second coat. The dry time will depend on the type of paint you’re using, but typically, you should wait at least 24 hours. This careful process will ensure a beautiful and long-lasting paint job.
Proper drywall preparation before painting is essential for a professional, high-quality finish. Every step plays a crucial role in the final outcome, from the initial inspection and repair of the drywall to the sanding, priming, and careful taping and cutting. Remember, patience and meticulousness are key.
Avoid rushing through the process, and take the time to do each step correctly. Investing time and effort in prepping your drywall can significantly enhance the durability and aesthetics of your paint job. Lastly, always use high-quality tools and materials, as they can make a substantial difference in ease of application and the quality of the finish. By following these professional tips, you can transform your drywall into a smooth canvas ready for that perfect coat of paint.
Check out Timothy’s Toolbox for high-quality tools and equipment if you need an automatic drywall taper for installation or maintenance. With the right materials and proper installation, you can ensure that your property’s drywall remains valuable for years.

{"one"=>"Select 2 or 3 items to compare", "other"=>"{{ count }} of 3 items selected"}
Leave a comment