5-Star
Award Winning Service
Award Winning Service
Patching and repairing drywall on the ceiling can seem daunting, but with the right tools and techniques, it’s a doable DIY project that can save you time and money. Whether you’re dealing with minor damage from water leaks or larger holes that need attention, repairing ceiling drywall can restore the look of your room and prevent further damage.
Let’s look at four tips for patching and repairing drywall on the ceiling and get your project started.
Before you begin your ceiling drywall repair project, ensure you have all the necessary tools and materials. This list includes:
Before starting the repair, have everything you need to avoid making multiple trips to the store.
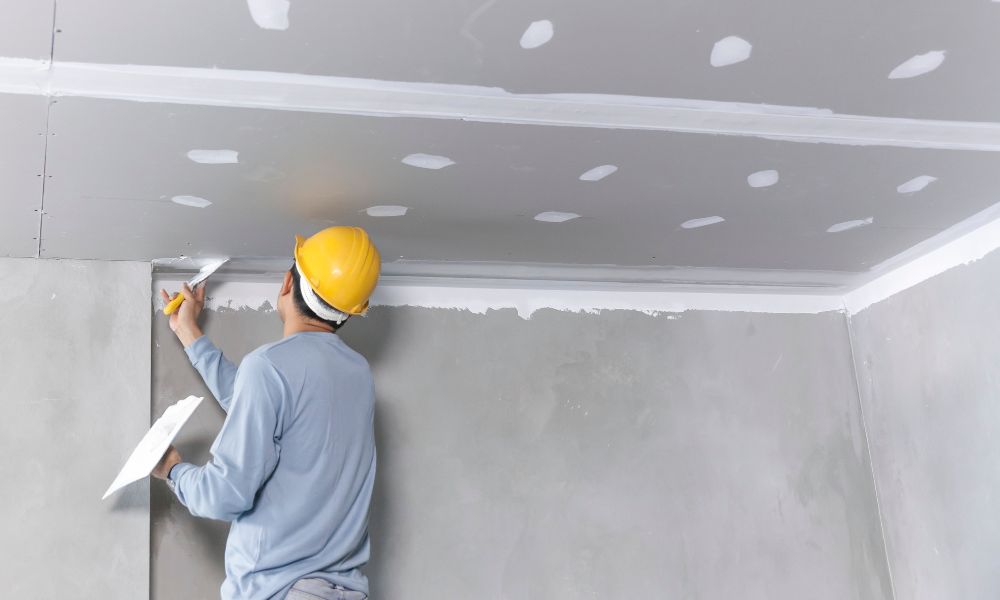
Before patching or filling in any holes or cracks on your ceiling drywall, properly preparing the damaged area is essential. This step involves removing any loose debris or pieces of drywall, sanding down the edges of the hole to create a smooth surface, and cleaning the area with a damp cloth.
If you’re dealing with larger holes, use a drywall saw to cut out a clean square or rectangular shape around the damaged area. This saw will make patching easier and ensure your repair is sturdy.
When repairing drywall on the ceiling, there are two main methods: a drywall patch kit or drywall tape and joint compound. If you’re dealing with smaller holes or cracks, a patch kit with self-adhesive mesh can be an easy and effective solution. Peel off the backing, press the patch over the damaged area, and then cover it with joint compound.
For larger holes, use drywall tape and joint compound. Apply a layer of joint compound around the hole’s edges, then place the tape over it and smooth out any air bubbles. Once dry, apply multiple layers of joint compound until the surface is smooth and even.
Repairing drywall on the ceiling can require some patience, as it may take multiple layers of joint compound or patching to achieve a seamless repair. Let each layer dry completely before applying the next one, and sand down any rough spots in between.
Additionally, if you’re using a joint compound, apply it in thin layers rather than trying to cover the entire repair at once. This step will prevent cracking and make the final result look more professional.
By following these tips and taking your time, you can successfully patch and repair drywall on your ceiling without having to hire a professional. Always be cautious when working on ladders or scaffolding, and wear protective gear to avoid accidents. Your ceiling will look as good as new with the right tools and techniques.
If you’re looking for drywall stilts for sale to make your drywall repair projects easier, check out our selection of high-quality stilts at Timothy’s Toolbox. Whether you’re a professional contractor or a DIY enthusiast, we have the perfect solution for all your drywall needs.
{"one"=>"Select 2 or 3 items to compare", "other"=>"{{ count }} of 3 items selected"}
Leave a comment